

Once you enter your username and password, click the login button to see the following.
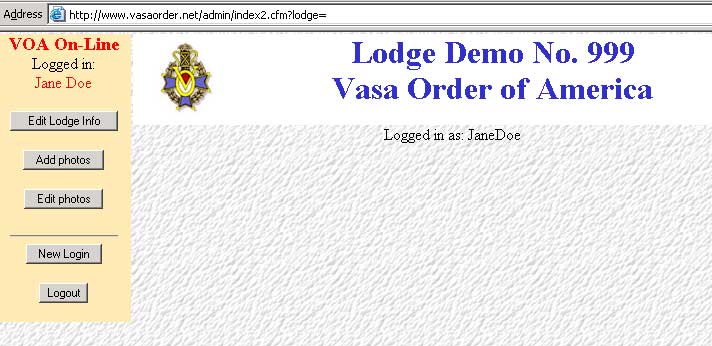
Note the buff colored sidebar, were the admin control buttons are located. Your name is listed at the top of the panel. when you are finished with your update, click the "logout" button at the bottom of the list. Ignore the "new Login button unless you have administrator privilege for more than one lodge.
Lets start with the photo album:
Click the “Edit Photos” button in the administrator’s sidebar to get the following panel:
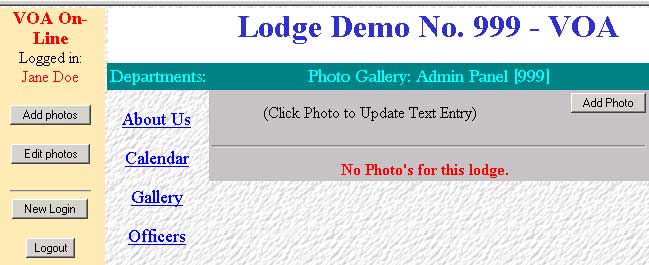
The message in red indicates that there are no photographs loaded for the album for this lodge.
Click the Add Photo button (either the one at the top right of the list header, or the one in the sidebar), and see the following screen:

The instructions tell you to browse your hard drive to select the photo to be loaded. You must have the digital image in a directory on your hard drive. Click the browse button and navigate to the directory where the photo is stored. A box similar to the one below should pop up on your screen. Select the directory of folder using the "look in" box, then select the jpg or gif image file from the list. Double click the file name (or click the "Open" button to load the file name . The box will close, and the file name with its path will be stored in the "Photo File" entry box of the admin panel as in the following example.
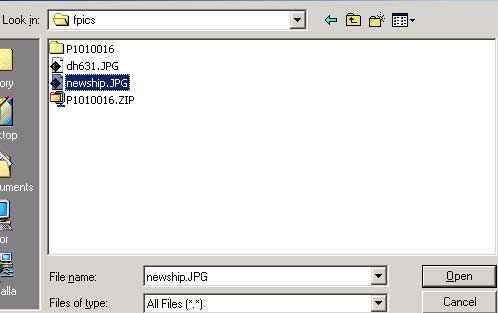

Note that the path and image name appear next to the words "Photo File" but extend beyond the box. This is not a problem, all of the words are there.
The entry is date stamped. You may change the date of the photo if you wish, just overtype using the same format.
Enter a title and a narrative description of the photo content. The title will show with the photo in the album, and the full description will appear in a pop-up window with the enlarged image when viewed.
If the picture is in vertical format, check the portrait box.
see the example below:
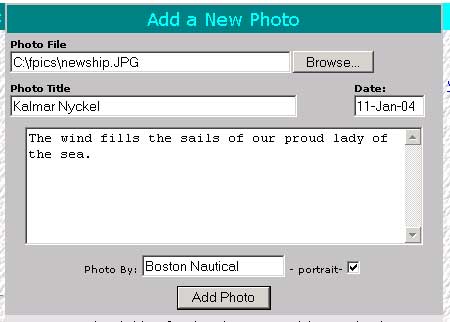
Click the "add photo" button to load the image. The image will be appropriately resized for the album and stored for display. The list of photos you have stored will then be displayed as follows:
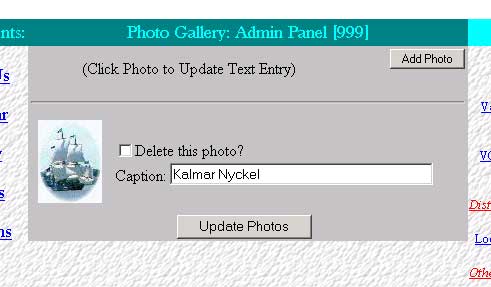
Note the thumbnail image to help with identification. You may make changes to the captions of any photos simply by overtyping them, and clicking the update photos button at the bottom of the list. If you wish to remove photos from the album, check the "Delete this photo" box next to the ones to be removed, then click the "update Photos" button at the end lf the list. WARNING! Once deleted they are GONE and may only be put back by reloading them from your computer.
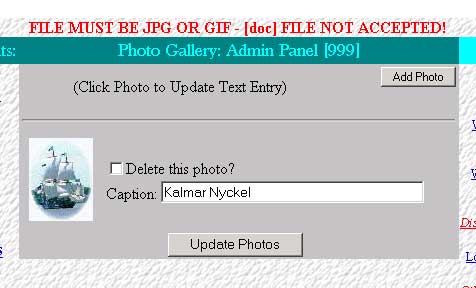
As mentioned earlier, only JPG ad GIF image formats are supported. If you had mistakenly tried to upload another format you would see the message shown below in red, just above the gallery list header. In the example an attempt was made to add a word document to the gallery, and it was rejected.
You are back to the "Edit Photos" list that we saw at the beginning, but now it is populated with a photo. To add more, go back a few steps to the Add Photo instructions.
In order to change the description, date, or photo credit, click on the thumbnail image of the picture to be edited. The following screen will open:
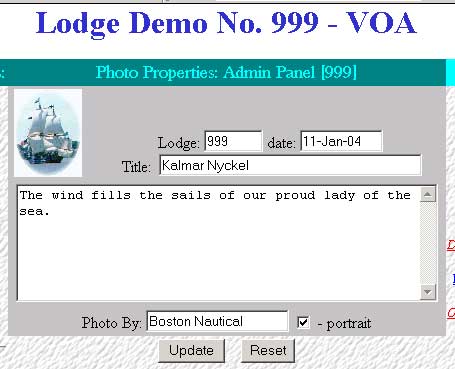
Note that this screen is similar to the one presented in the "add Photo" step - now a thumbnail of the image is shown, and the browse box is gone. Overtype any information that needs to be changed. If you made a mistake on format you may check or uncheck the "portrait" box. Do not change the lodge number. Once changes are complete, click the update button. You can reset the screen to remove your changes any time before you click the update button by using the "reset" button.
Note the changes to the title and text I have made in the following example:
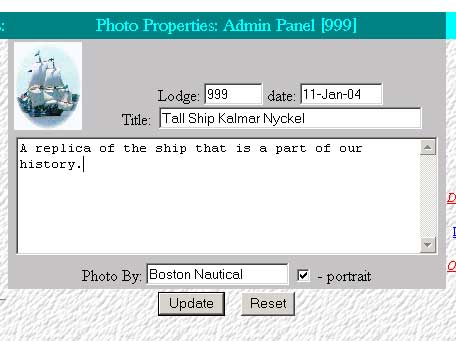
Now click the Update button.

The image will be displayed for viewers of your lodge site when they click on the Gallery link as below:
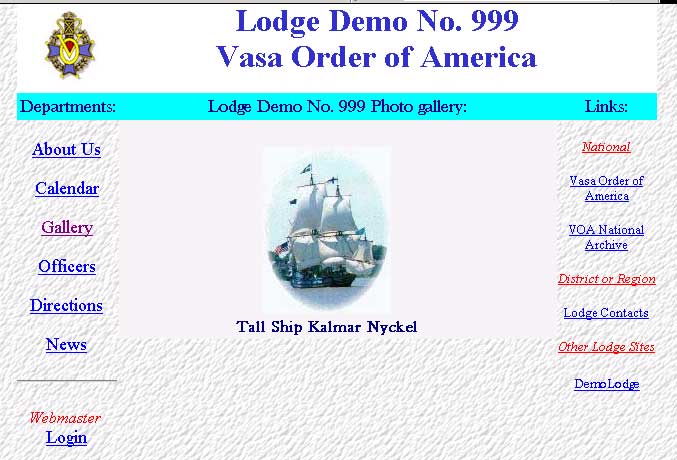
When they click the image, they will view the enlarged version, with the description you entered earlier. Placing the mouse over the enlarged image will retrieve the photo credits. is you have entered them.
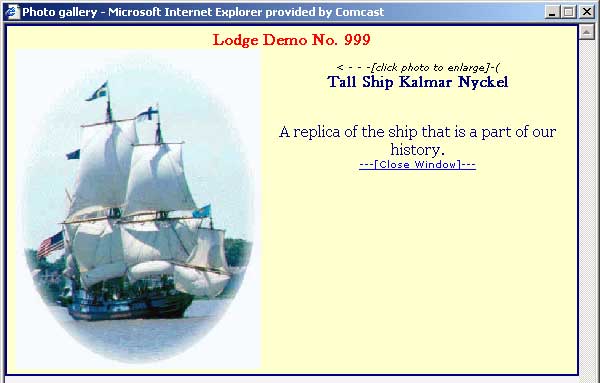
Note that the title and text appear in the box to the right of the enlarged photo. This is because you checked the "portrait" box to identify the vertical format of the photo. If it was horizontal of "landscape" the title and test would show below the picture and may require scrolling to read.
Dont forget to log off when you are done with the administration task.
Bob Anderson, Webmaster.
To register as an administrator for your lodge, send email to [email protected]
Mention your lodge number, and district as well as your name, office, and email link